[toc]
前回はUbuntu ServerにRStudio Serverをインストールしました。
今回は、Shiny Serverをインストールしたのでそのメモを紹介します。
Shiny Serverとは
Shinyとは、Rで記述した内容をブラウザで動かせるようにアプリケーション化したものだそうです。
Shiny Serverは作成したShinyアプリケーションを配布するためのサーバです(と理解していますが齟齬等ありましたらご指摘ください)。
動作環境
- Ubuntu 16.04.02 LTS
$ uname -srvmo
Linux 4.4.0-72-generic #93-Ubuntu SMP Fri Mar 31 14:07:41 UTC 2017 x86_64 GNU/Linux
- Shiny Server v1.5.3.838 (OSS版)
インストール
$ sudo su -
% R -e \"install.packages('shiny', repos='https://cran.rstudio.com/')\"
% wget https://download3.rstudio.org/ubuntu-12.04/x86_64/shiny-server-1.5.3.838-amd64.deb
% gdebi shiny-server-1.5.3.838-amd64.deb
% rm -f shiny-server-1.5.3.838-amd64.deb
% ps aux | grep [s]hiny
root      4800  0.0  0.0  11444  3024 ?        Ss   10:45   0:00 /bin/bash -c /opt/shiny-server/bin/shiny-server --pidfile=/var/run/shiny-server.pid >> /var/log/shiny-server.log 2>&1
root      4804  0.1  0.7 935444 57344 ?        Sl   10:45   0:00 /opt/shiny-server/ext/node/bin/shiny-server /opt/shiny-server/lib/main.js --pidfile=/var/run/shiny-server.pid
% netstat -tanp | grep shiny
tcp        0      0 0.0.0.0:3838            0.0.0.0:*               LISTEN      4804/shiny-server
デフォルトで3838番ポートで受け付けています。
Nginxの設定
RStudio Serverのときと同様にNginxをリバースプロキシとして設定します。 前回の記事でRStudio Serverの設定を終えているので、そのファイルに追記することで、同じドメインで別URLパスからShiny Serverにアクセスできるようにします。
# /etc/nginx/conf.d/rstudio.conf
upstream rstudio-server {
  server 127.0.0.1:8787;
}

### ↓追加 ###
upstream shiny-server {
  server 127.0.0.1:3838;
}
### ↑追加 ###

server {
  listen 80 default_server;
  server_name rstudio.example.com;
  access_log /var/log/nginx/rstudio.access.log ltsv;

  ssl off;
  root /var/lib/rstudio-server/;

  proxy_set_header Host $host;
  proxy_set_header X-Real-IP $remote_addr;
  proxy_set_header X-Forwarded-For $proxy_add_x_forwarded_for;
  proxy_set_header X-Forwarded-Proto https;
  proxy_pass_request_headers on;
  proxy_connect_timeout   1;
  proxy_send_timeout      300;
  proxy_read_timeout      300;
  proxy_redirect off;

  error_page 404 =404 /404.html;
  error_page 503 =503 /503.json;

  location / {
    proxy_pass http://rstudio-server/;
  }

### ↓追加 ###
  location /shiny/ {
    proxy_pass http://shiny-server/;
  }
### ↑追加 ###
}
% nginx -t # configtest
% service nginx restart
http://rstudio-server/shiny/ にブラウザからアクセスして、Welcome to Shiny Server! と表示されていれば設定は完了です。
Shiny Serverでは、サンプルアプリケーションがインストール時に同梱されているので試しにアクセスしてみましょう。
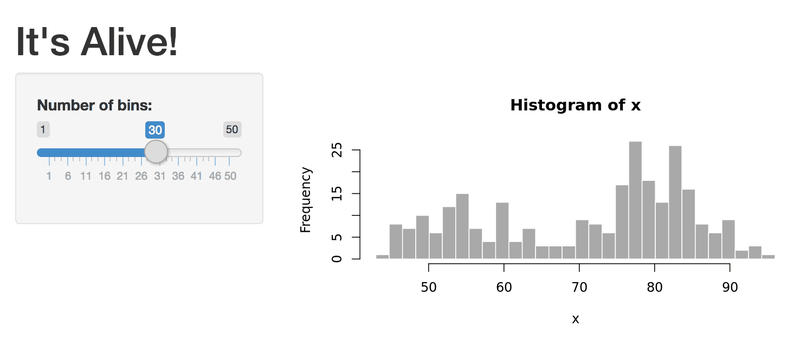
http://rstudio-server/shiny/sample-apps/hello/ にアクセスすると、下図のようなShinyアプリケーションが表示されるので色々触ってみましょう。
認証は?
こちらのドキュメントを読むと、RStduio ServerのようにPAM認証を設定するにはPro以上にする必要があるとのことです。